Encryption should really be used wherever possible. There is no reason to have your data easily accessible to anybody that might be snooping around, whether you think the data is sensitive or not.
The problem is encryption can be a pain, with the constant requirement for password input to access your data. However, that doesn't need to be the case.
This article will guide you through the process of encrypting a secondary disk with LUKS (i.e. not the boot disk with your operating system installed).
Furthermore, it will detail how you can implement auto-decryption along with auto-mount, so that on system boot your data is already freely accessible. No password input!
Introduction #
This guide provides information on how to encrypt a disk with LUKS, and then auto-decrypt and auto-mount the disk on boot. The following features will be included:
- LUKS2 whole disk encryption
- BTRFS file system, and associated settings
- Auto-decryption using a keyfile and crypttab
- Auto-mount using fstab
To put this guide together I have mainly referenced the Arch Wiki.
Note: the auto-decryption / auto-mounting only makes sense if the operating system is encrypted, as otherwise the keyfile used for auto-decryption would be accessible, which defeats the object of encrypting the drive in the first place.
Find target drive name #
Firstly, it is necessary to find the correct hard drive. For this use the following:
lsblk -fExample output:
NAME          FSTYPE      FSVER LABEL         UUID                                 FSAVAIL FSUSE% MOUNTPOINTS
sdf
└─sdf1        btrfs             DriveName     4177e516-e532-45e3-8ad8-81c0ec8c1696 117.2G  0%     /mnt/mount-point
In this case the drive is already in use, and has been previously partitioned.
Drive name: sdf
Partition 1 name: sdf1
Partition 1 UUID: 4177e516-e532-45e3-8ad8-81c0ec8c1696
Partition 1 Label: DriveName
Partition 1 Mountpoint: /mnt/mount-point
It may be the case that there is no partition on the disk, which is fine. The above is just for illustration.
Dismount drive if required #
If necessary dismount the drive.
This can either be done in file explorer or on the commandline if the mountpoint is known:
sudo umount /mnt/mount-pointSecurely wipe the drive #
Photo by Rohit Gupta from Pixabay
It is a good idea to wipe the disk before proceeding any further.
Create a container called wipe_me.
Note: the "block-device" should be the main device not one of the device partitions. For example, it could be /dev/sdf , but not /dev/sdf1 , or /dev/nvme0n1 but not /dev/nvmen0n1p1.
NOTE: YOU ARE ABOUT TO WIPE THE DISK! BE SURE YOU DON'T NEED THE DATA ON THE DISK AS IT IS NOT RECOVERABLE!
sudo cryptsetup open --type plain -d /dev/urandom /dev/<block-device> wipe_meZero out the container. This may take a while depending on the size and type of drive:
sudo dd bs=1M if=/dev/zero of=/dev/mapper/wipe_me status=progressThen close the container
sudo cryptsetup close wipe_meCreate LUKS encryption #
Photo by cottonbro studio
Note: if you want to setup any partitions on the disk, this is the point at which you would do it. It is not necessary if you intend to use the whole disk as one single space, but it is completely up to you.
Now that the drive has been wiped the drive can be formatted with a LUKS container.
After running the below you will be prompted to input a password. This password is the encryption/decryption password and should be as strong as possible. You must remember this password as without it you will not be able to decrypt the drive in the future:
sudo cryptsetup luksFormat -h sha512 -i 5000 /dev/<block-device>Note: I have upped the iteration parameter to 5000 from the default 3000. This will result in the unlocking of the encrypted partition taking a little longer (nothing excessive, but it depends on hardware). If this is a problem (i.e. you have a slow processor), please change the 5000 in the command above back to 3000. I would not recommend going any lower than the default of 3000.
Add Keyfile #
In the previous section a password was created for the encryption. To allow the drive to be mounted on boot, without the requirement for a password every time, a keyfile will be created that will auto-decrypt the LUKS partition on boot:
Note: you can change "keyfile.key" to whatever you like, just make sure you are consistent moving forward.
sudo dd bs=512 count=4 if=/dev/random iflag=fullblock | sudo install -m 0600 /dev/stdin /etc/cryptsetup-keys.d/keyfile.keyAdd the keyfile to the LUKS partition (after running the command below you will be prompted to input the encryption password you created earlier):
sudo cryptsetup luksAddKey /dev/<block-device> /etc/cryptsetup-keys.d/keyfile.keyCreate filesystem #
First, open the encrypted partition (you will be prompted for the password):
Note: the word crypt is arbitrary, you can use whatever you like, just be consistent.
sudo cryptsetup luksOpen /dev/<block-device> cryptNow create the drive file system. In this case I will use BTRFS, but it can be swapped out for whichever file system you prefer:
Note: "MyDriveName" is the drive "Label", and can be whatever you like. This is the name that will appear in your file explorer as the name of the drive.
sudo mkfs.btrfs -L MyDriveName /dev/mapper/cryptAn example output after running this command:
Label:              MyDriveName
UUID:               9f4f484c-6f5f-493f-a2a2-7c136e193e8d
Node size:          16384
Sector size:        4096	(CPU page size: 4096)
Filesystem size:    119.23GiB
Block group profiles:
  Data:             single            8.00MiB
  Metadata:         DUP               1.00GiB
  System:           DUP               8.00MiB
SSD detected:       yes
Zoned device:       no
Features:           extref, skinny-metadata, no-holes, free-space-tree
Checksum:           crc32c
Number of devices:  1
Devices:
   ID        SIZE  PATH
    1   119.23GiB  /dev/mapper/crypt
Setup auto-decrypt and auto-mount #

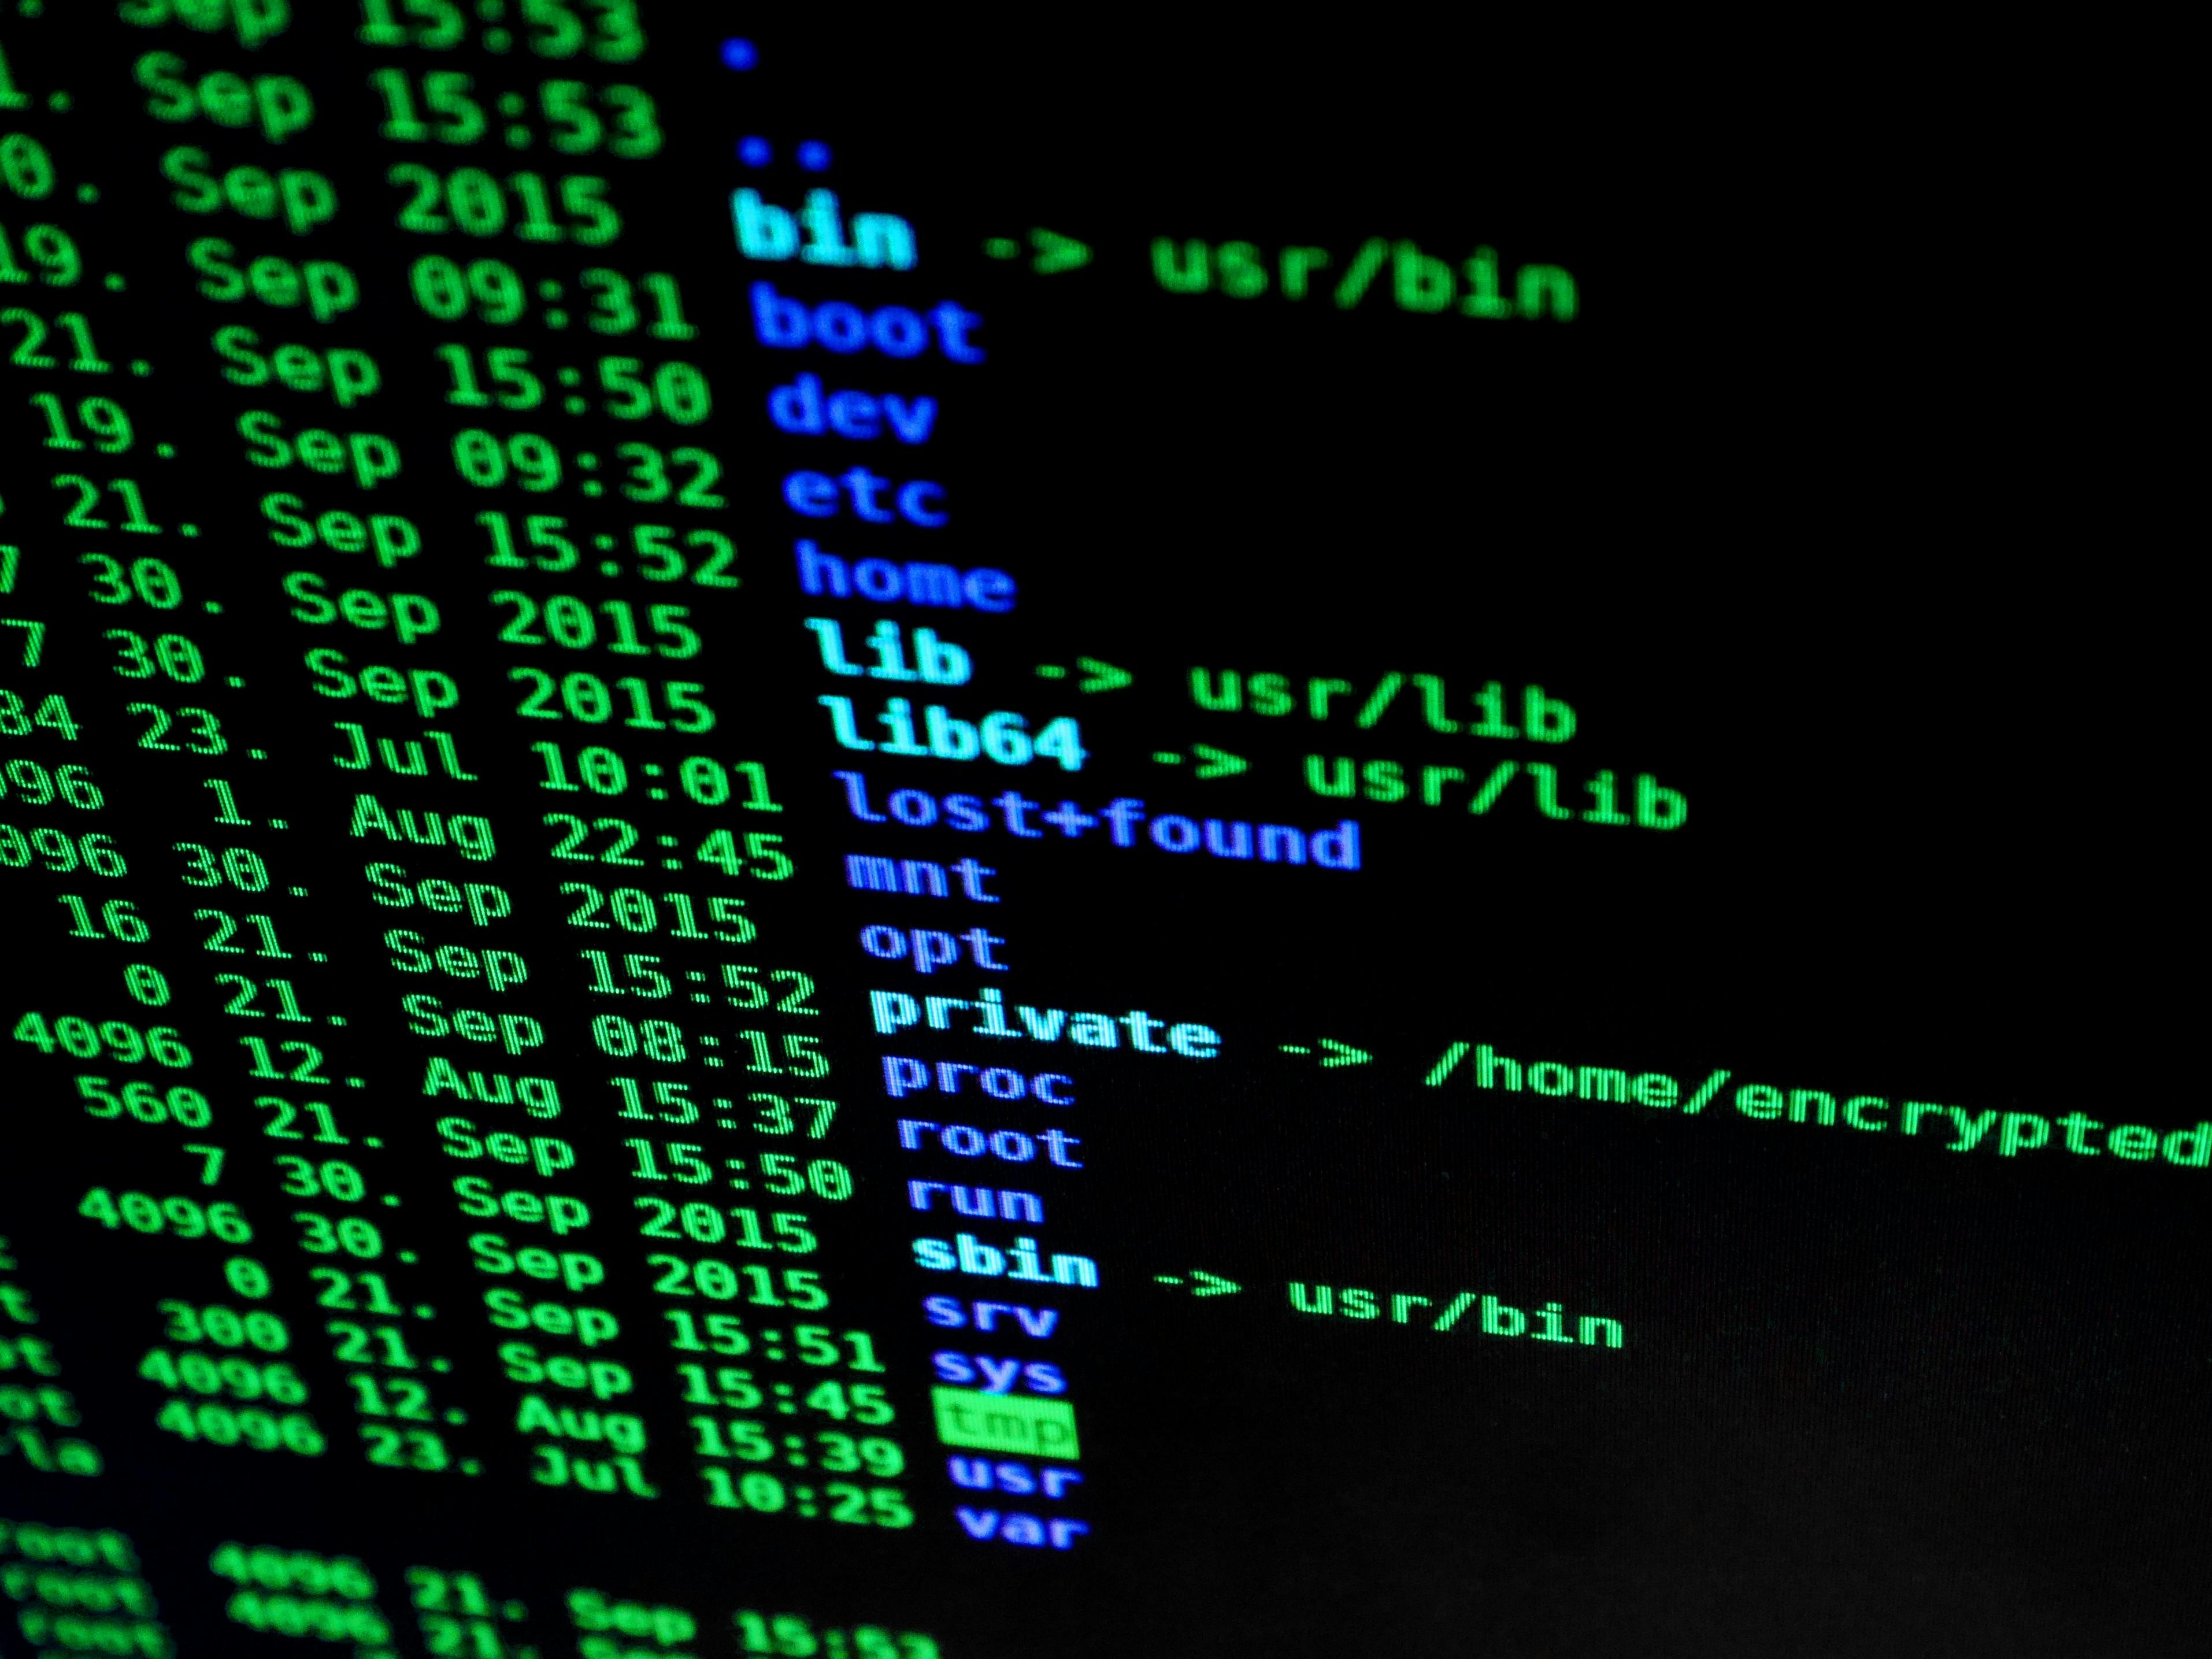
Photo by cottonbro studio
Essentially the drive is setup at this point, all that is left to do is setup the auto-decryption followed by auto-mounting the drive.
Auto-decryption #
For auto-decryption crypttab will be used.
First, the UUID of the encrypted LUKS container is needed:
lsblk -fResult (something like this), be sure to find the correct device as we did earlier:
NAME           FSTYPE         FSVER LABEL    UUID
sdf            crypto_LUKS 2                 3618e759-b3c7-4cf8-9753-5571ce38bc22
└─crypt btrfs                 MyDriveName    9f4f484c-6f5f-493f-a2a2-7c136e193e8d
Now add the following line to /etc/crypttab:
Note: "drive-name-crypt" is arbitrary, and use the UUID from the <block-device> line (i.e. sdf above, remember your device may not be called sdf! Pick the correct block device)
drive-name-crypt UUID=3618e759-b3c7-4cf8-9753-5571ce38bc22 /etc/cryptsetup-keys.d/keyfile.key nofailNote: in the above the last item is nofail. This is not essential to include, but is advisable. nofail ensures that if the decryption fails it will not cause boot to fail. You will know it has failed as the drive won't appear later on, but at least your operating system will boot!
Auto-mount with fstab #
First, create the mount point if it doesn't already exist:
sudo mkdir /mnt/my-drive-mount-pointThen add the following to /etc/fstab. The UUID is from the "btrfs" line from the output of lsblk -f. I have provided two options, one for SSDs and one for hard drives (rotational drives):
SSD:
UUID=9f4f484c-6f5f-493f-a2a2-7c136e193e8d /mnt/my-drive-mount-point btrfs rw,nofail,noatime,compress=zstd:1,ssd,discard=async,space_cache=v2,x-gvfs-show 0 0HDD:
UUID=9f4f484c-6f5f-493f-a2a2-7c136e193e8d /mnt/my-drive-mount-point btrfs rw,nofail,noatime,compress=zstd:1,nossd,space_cache=v2,autodefrag,x-gvfs-show 0 0All the options after "btrfs" can in theory be changed, some explanations are given below.
Options:
- ssd - specification of the allocation scheme suitable for SSD drives (rather than rotational drives). Change this to
nossdfor rotational drives - noatime - significantly improves read intensive workload performance, and also reduces writes in some circumstances.
- compress=zstd:1 - zstd level 1 is the minimum level of compression. zstd accepts a value range from 1-15, with higher levels trading speed and memory for higher compression ratios. The default compression level is zstd level 3. zstd level 1 already gives a quite decent level of compression, increasing the compression level has a much larger impact on compression speed than it does on reducing file size, so only increase the level if you are not concerned at all with time to write files. Decompression speed is largely unchanged regardless of compression level.
- space_cache=v2 - creates cache in memory for greatly improved performance. Be sure to use v2 and not v1.
- discard=async - keeps the disk tidy by enabling the discarding of freed file blocks. Specifically, the asynchronous mode (async) gathers extents in larger chunks before sending them to the devices for TRIM. (only required for SSDs).
Please take a look at the official documentation for further details.
Reboot #
Now reboot and if all has gone well you should see the drive appear after boot ready for use.
The only final step you may need to perform is to change ownership of the drive to your user account the first time you use it. It will likely be assigned to root the first time you boot (replace "username" with your actual username.)
sudo chown -R username:username /mnt/my-drive-mount-pointOnce the above is done, it will not be required again.
🙏🙏🙏
Since you've made it this far, sharing this article on your favorite social media network would be highly appreciated. For feedback, please ping me on Twitter.
...or if you want fuel my next article, you could always:

Published